Category: Adventures

Trips or fun experiences will be listed here

  • I’m finally on my way with this website.

    I’m finally on my way with this website.

    I’ve been posting to facebook too much.

    Problem is, it’s easy to post to facebook but difficult to post here.

    BUT I’M HAPPY TO SHARE that…

    I think I’ve got most of the problems worked out.  (only took 2 years!).

    and so I’m very very happy to finally be able to share with everyone…. Just come to avxpro.org and BOOM.  It’s all there.  Just scroll down and see everything I’ve been up to.

    Finally.

    so I apologize that the website doesn’t look very good yet…

    I’ll get better.  It’ll take time but it will.  I think the key is being able to share with you in the meantime WHILE it gets better.

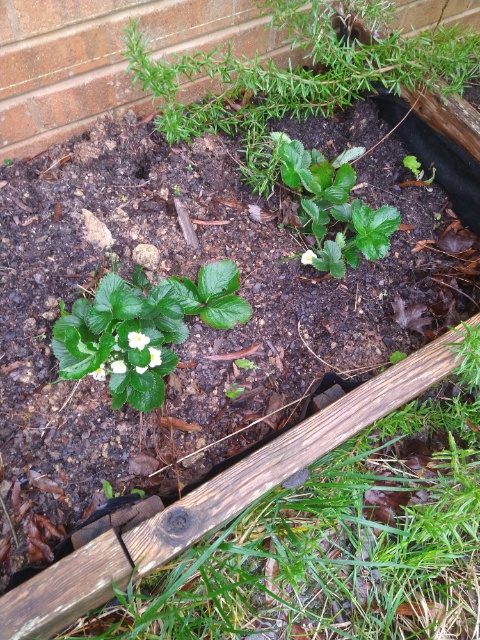
    You like my potatoes down there, by the way?  They will be planted in the garden next week.  Much better than throwing them away, wouldn’t you agree?

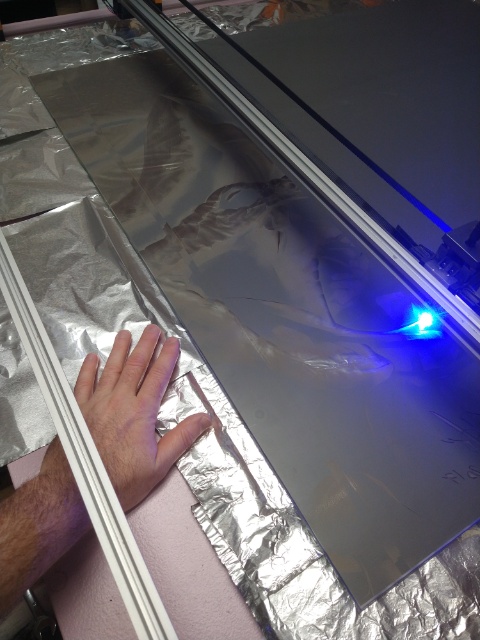
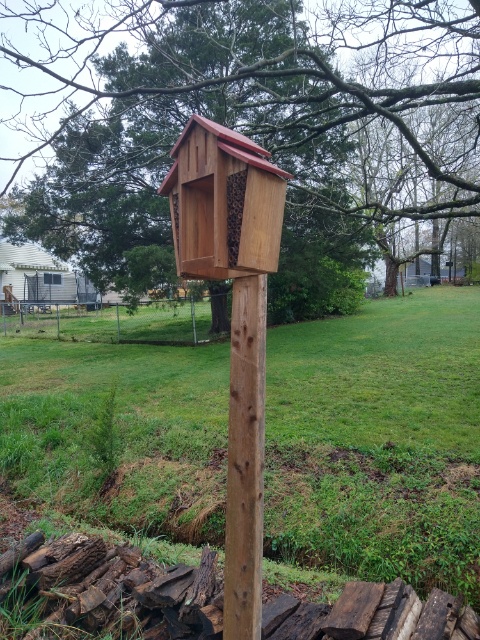
    I’m not a professional writer but I can’t wait to share with you things I create in the shop.  Or how I’m doing wild stuff like growing plants in upcycled kitty litter boxes filled with water.

    or family stuff

    Like how I’m teaching the family cat to do her homework.  Ok ok!  That’s my son’s HW… but really… come on… admit it… you fell for it! 

    Mason Bee Shelter during the Winter

    so welcome to everyone

    Friends, family, or if you’re new and just happened to stop by; welcome.  Thank you for coming and I hope you stay a long time.

  • Strawberries are fine

    Strawberries are fine

    THEse strawberries had jumped the fence

    and left their garden bed 🙂

    I was concerned about moving them after they had already begun to flower but no, they’re STRAWBERRIES and didn’t seem to mind the shovel one bit.

    Good deal.

    irrigation is waiting for parts

    To be honest, I don’t want to do it right now anyways.  Look how wet it is out there.

    I did get these guys in though.  Photobomb by a baby grapevine towards the top of the picture.

    and finally, new trellis supports are cut

    My first trellis was made out of bamboo.  I got a few years out of it but I want to get more. I have some ideas for the new design.

  • Update on the mirror setup from yesterday

    Update on the mirror setup from yesterday

    Update on the setup from yesterday.

    All I can say is “wow”.

    At these settings, I knew it was going to take forever but mannnnn is it worth it!  

    The piece is incredible.


    There’s a small glitch where I had a belt skip some teeth…

    NEW MACHINE IS TEETHING!!!!!

    haha.  I made a dad joke.

    But seriously, the customer intends to break this mirror so I think my booboo will be welcomed to the project.

  • Some pictures of the process (for a friend)

    A friend of mine, DC, asked me if I could share some pictures of what I do for his daughter.

    I’d be happy to.

    Here’s a typical setup:

    The work starts in photoshop like normal (This is GIMP.  It’s free.  I’m cheap.)

    It’ll go to imag-r.com to do the dither.  GIMP can do a dither, but it imag-r looks better.

    See how it’s all dots on the screen now?

    Anyways, this is a small swatch, a point of interest that has been moved into the software that controls the laser.  In this case we are doing a Medusa mirror so we are looking at a snake head that has both lights in the head and darks in the neck…. full spectrum of “color” if you will.

    If we can make out the curvature of the head and still be able to see the neck in our test, we’re good to go.  Easy peasy right?

    So we’ll run a few copies of the swatch… making educated guesses to change the settings into focus with each one.

    writing each change and observations as we go….

    This is the machine running the project by the way.  It was custom built specifically for this particular Medusa mirror job.  The rails are 1200mm, 47.2 inches.


    Back to finding our settings:

    I stow this light thing on the ceiling when not in use.  I think it’s an artist’s tracing light.  I don’t know.  My Aunt Karen got it for me so shop ID = “Karen”.  I use it all the time.

    Here is our target:

    I think number two from the right is going to be our best bet.  The first one from the right is over-burnt and you can’t really tell the details of the neck in any of the others.  The second one seems just right.  You can barely tell the head and you can see the neck.  A good compromise.

    So…..

    It’s just a matter of checking back to our notes and here’s our settings.  Good to go!

    Now it’s just a matter of framing it.  I’m just tracing the outline of the project right now and lining up the mirror to where the machine thinks the mirror is.  I usually trace the very exterior of the piece so that the laser is half on / half off the edge.  I find there’s less margin for error that way.

    AND BURN.

    A COUPLE OF HOURS INTO THE BURN:

    Progress looks good.

    I believe I’m seeing the aluminum foil bed through the glass so that’s a good sign!

    This one’s “quality over quantity” so check back in a few days.  I’ll be sure to update.

    Thanks for reading.

  • Pour painting

    Pour painting experiment

    I learned of “pour painting” and that would be really good for backgrounds.

    Anyways, here’s my first couple of shots.  Not bad for “just learning”.  There’s real potential here!

    No Images Found!

  • Coloring the prototype 2023 Christmas ornaments

    Coloring the prototype 2023 Christmas ornaments

    This is my very first blog post from my cell phone.

    You should see three videos below. Let me know if everything looks okay or maybe it doesn’t.

    Comments are enabled for this first post.

    Thank you

  • Hello world!

    Welcome to WordPress. This is your first post. Edit or delete it, then start writing!